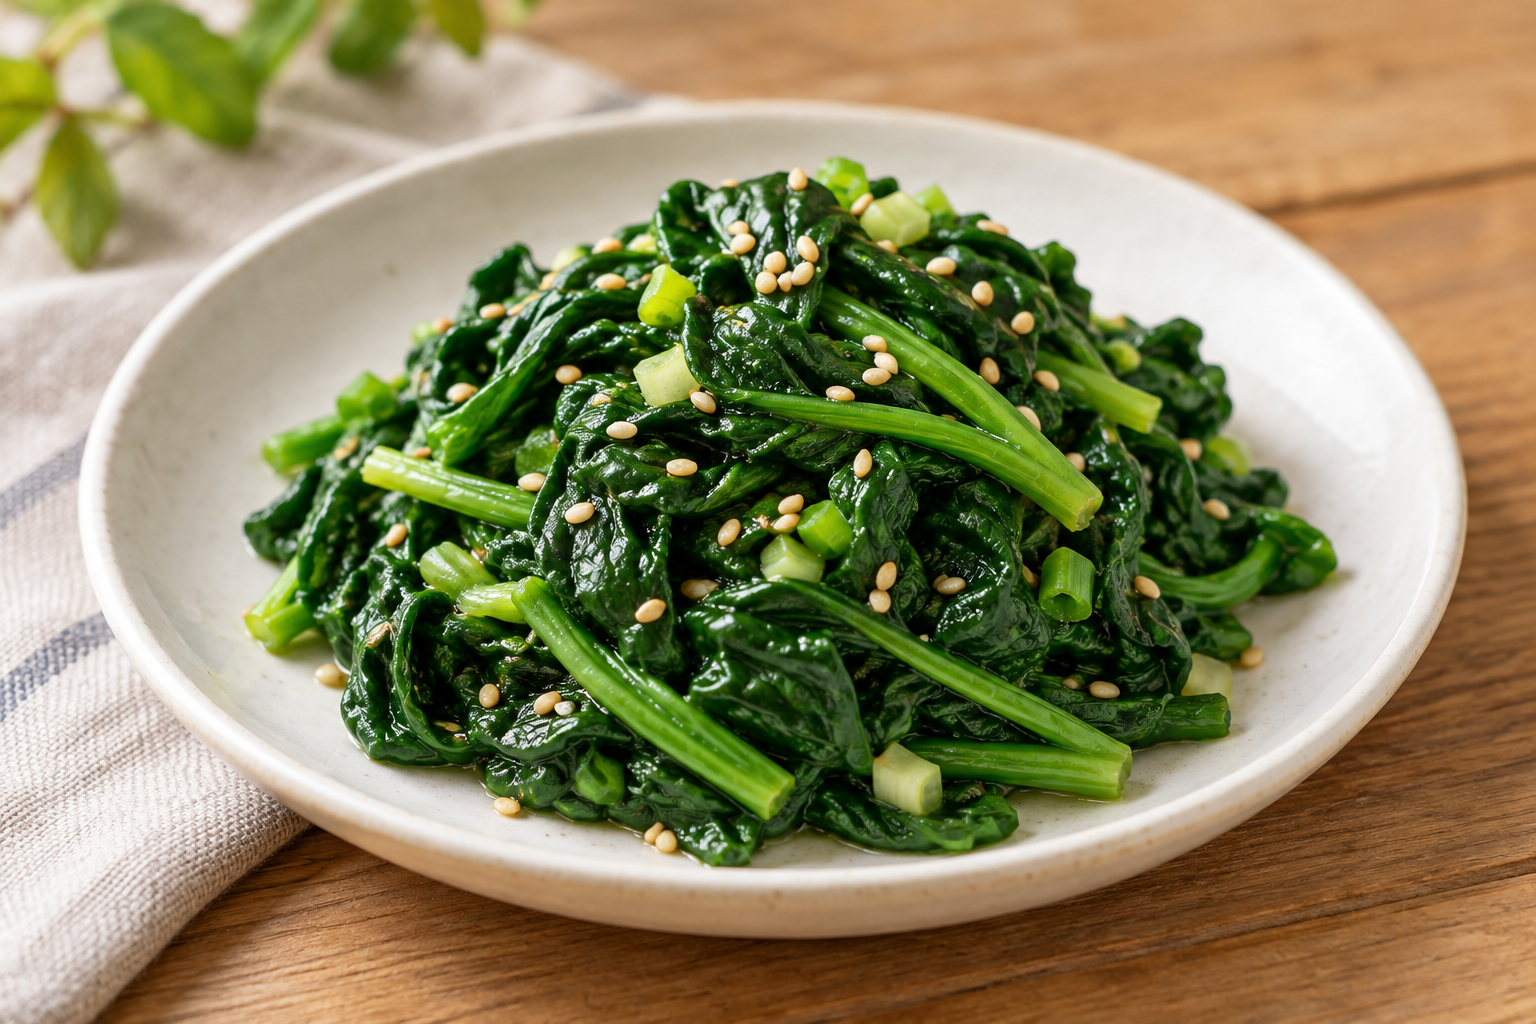
A small plate of spinach can round out a meal without another frying pan. This mild sigeumchi namul uses 300g of fresh spinach, a little soy sauce and toasted sesame oil. Weigh the spinach rather than relying on the size of a bunch.
At a glance
Makes 2–3 small side portions. Allow about 15–20 minutes including preparation and heating water. Use a pot, colander and two bowls. Measurements use a 5mL teaspoon and 15mL tablespoon.
Ingredients
- 300g fresh spinach, weighed before trimming (about 10.6 oz)
- 1 teaspoon Korean soup soy sauce, plus 1/2 teaspoon at a time if needed
- 1 teaspoon toasted sesame oil
- 1/2 teaspoon minced garlic
- 1 tablespoon finely chopped scallion
- 1 teaspoon toasted sesame seeds
- About 1.5L water for blanching, plus cold water for cooling
This is a lightly seasoned starting formula developed for this article, not a kitchen-tested claim. Trimming losses and soy sauce brands affect the final balance. Check labels for soy, wheat and sesame allergens.

Choose your spinach and soy sauce
Mature spinach gives you stems to judge as well as leaves. Baby spinach is usable, but watch it closely as it wilts. Frozen spinach is outside this fresh-weight formula: follow its cooking directions and expect a different texture and yield.
Korean soup soy sauce is called guk-ganjang. If you only have regular soy sauce, begin with the same small teaspoon, taste, and adjust. It can darken the leaves; avoid pouring in more just to reproduce a particular color. Sweet soy sauce is not a direct substitute. Check the actual sauce label if you need a vegan or gluten-free dish.
1. Prepare the spinach and your cooling station
Set out a bowl of cold water and a colander before the spinach goes near the pot. Trim dirty root ends, remove damaged leaves and split thick bases so you can rinse between them. Swish the spinach in a bowl, lift the leaves out, then discard the gritty water rather than pouring it back over the leaves. Rinse again as needed.
Keep the leaves reasonably intact at this stage. They are easier to drain than tiny chopped pieces, and you can cut them to serving length after blanching. Sort especially thick stems from very delicate leaves so you can monitor them separately.
2. Blanch briefly, watching the stems
Bring about 1.5L of water to a full boil. Lower the stems in first, then submerge the leaves. Begin checking at 20–30 seconds: look for wilted leaves and a stem that bends easily. Thickness and the amount added affect timing. Use the clock as a reminder to check, not as proof that every bunch is ready.

If adding the entire amount cools the pot for a long time, split the next batch. Remove one portion and let the water return to a boil before adding the next. The illustration shows the action, not a reliable color chart for judging your own spinach.
3. Cool, drain and loosen
Transfer the spinach to the prepared cold water, then drain it. Check that it has cooled before pressing handfuls gently to remove water. Avoid twisting the leaves into a crushed rope. Cut long strands into roughly 4–5cm lengths if that makes them easier to eat.
Place the drained spinach in the mixing bowl and check for a puddle before seasoning. If it has become a tight ball, tease it apart with chopsticks first. Pouring sauce onto a compact clump can leave an intensely seasoned outside and a bland center.
4. Season in small additions
Mix in the initial teaspoon of soy sauce, garlic and scallion. Add sesame oil and seeds and toss lightly. Taste a bite containing both leaf and stem before making a half-teaspoon adjustment. Distribute additions over the spinach rather than pouring everything onto one spot.

Plate only what you plan to serve. If this is going into bibimbap, leave room for the saltiness of its other toppings and sauce. Keep track of one seasoning at a time instead of adding extra salt and soy sauce together.
Adjust the process before adding more sauce
If liquid collects in the mixing bowl, lift out the spinach and drain it again before correcting the seasoning. Extra soy sauce can mask the water at first and leave the dish too salty later. If the spinach is packed into a tight ball, loosen it with chopsticks before adding more oil.
For a repeatable next batch, note the total sauce used. One teaspoon plus a half-teaspoon adjustment is 1.5 teaspoons in total. If doubling the spinach, blanch in smaller batches and reserve some of the calculated seasoning until you taste it.
Troubleshooting salt, garlic and texture
- Too salty: stop adding sauce. If you have extra unseasoned, blanched spinach, mix it in gradually. A large splash of water or oil changes the texture without giving you more vegetable.
- Garlic dominates: serve a smaller portion with the rest of the meal. Next time start with half the garlic and build up to your preference.
- Too soft: squeezing harder will not restore the leaf structure. Cut it shorter for a small bibimbap topping, and shorten the checking interval next time. Have the cooling water ready before cooking.
Scaling without crowding the pot
For 600g of raw spinach, the calculated starting amounts are 2 teaspoons each of soy sauce, sesame oil and sesame seeds, 1 teaspoon garlic, and 2 tablespoons scallion. Reserve some sauce until you taste, because trimming and draining change the vegetable yield. Blanch in two batches rather than automatically doubling the cooking time.
For 150g, halve the starting amounts: 1/2 teaspoon each of soy sauce, oil and seeds, 1/4 teaspoon garlic, and 1/2 tablespoon scallion. Small spoons help here. Write down the total sauce you actually add so the next batch is easier to repeat.
Use the rest of the ingredients
If a scallion bunch is larger than this recipe needs, measure out the tablespoon first and reserve the rest for another dish. There is no need to add a whole bunch just to use it up. Similarly, a package of spinach can be divided by weight before seasoning; keep the unused portion according to its label. Frozen spinach has a different water content and yield, so follow its cooking directions and season gradually instead of treating it as a direct fresh-weight replacement.
Serving and storage

Serve beside rice or use a small portion in bibimbap; allow for any salty sauce added to the full meal. Transfer leftovers with clean utensils to a covered container and refrigerate promptly. General UK Food Standards Agency guidance recommends a fridge at 0–5°C and eating leftovers within 48 hours. This does not make food safe after prolonged room-temperature storage.
More recipes and references
Try Korean soy-braised potatoes for another rice accompaniment. Read the Korean version of this spinach recipe.
Technique reference: Korean Bapsang: Sigeumchi Namul. Storage reference: Food Standards Agency chilling guidance. Sources checked October 17, 2026. The wording and starting quantities were prepared for this guide; no personal cooking or tasting experience is claimed.
답글 남기기