K-Food · Korean cooking at home · 한국어 레시피
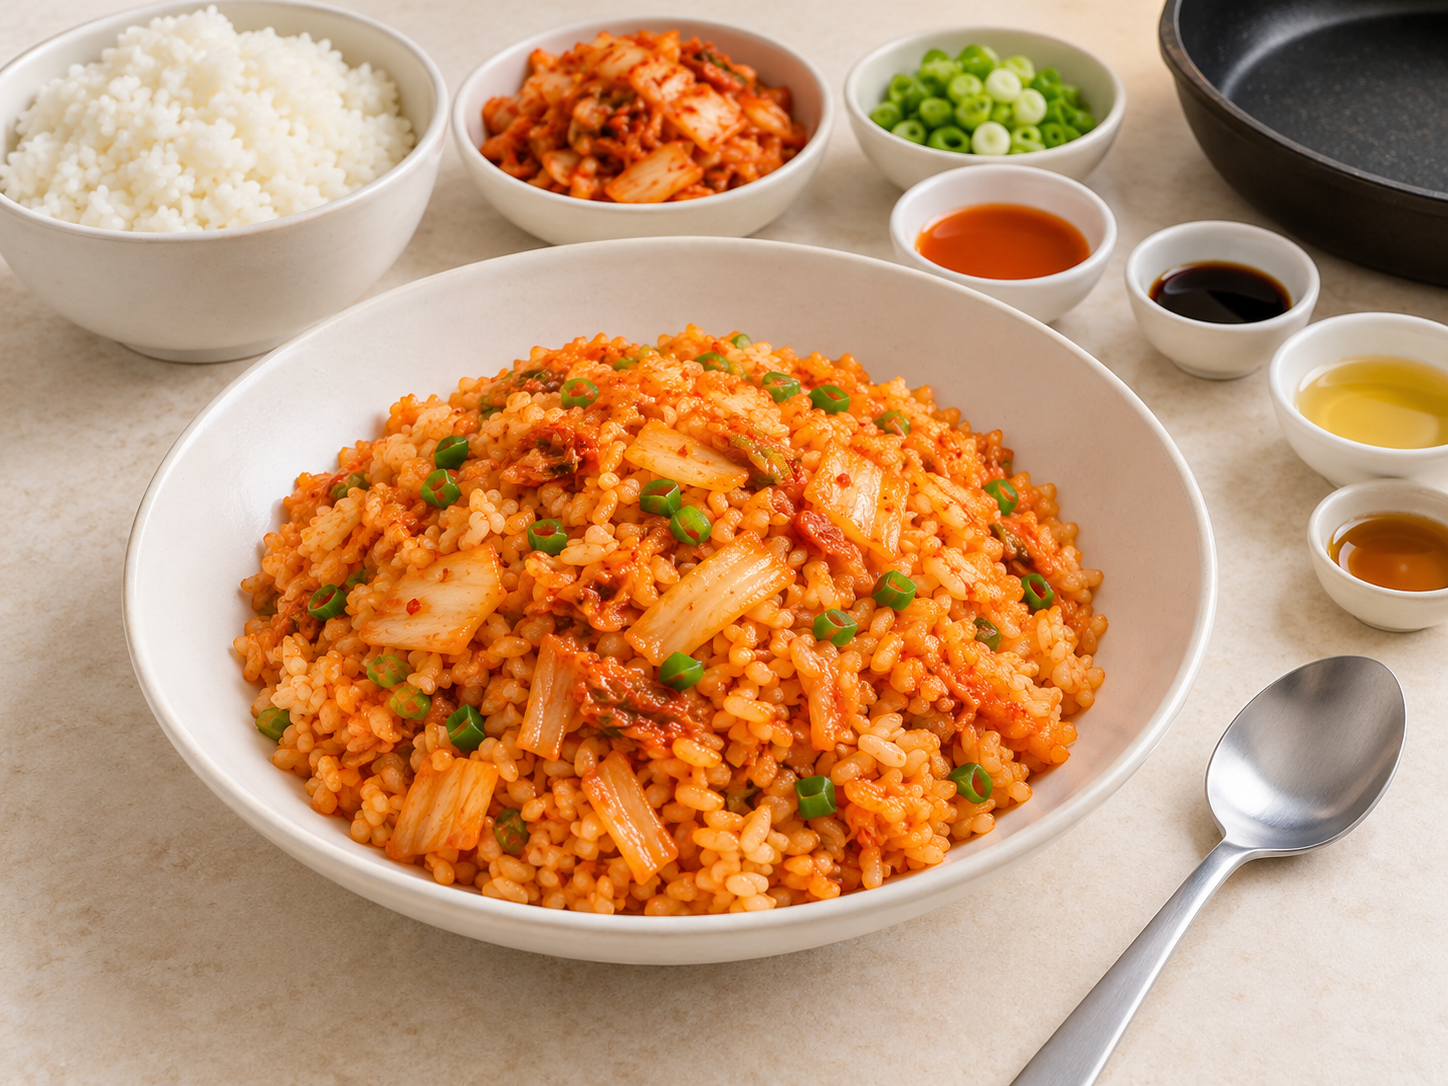
Kimchi bokkeumbap (김치볶음밥) is Korean fried rice with kimchi. If your first attempt turns wet rather than fried, check the liquid in the pan before adding more seasoning. This simple version uses rice, napa cabbage kimchi and scallion, with no meat or egg. The main skill is controlling moisture, not collecting a long list of sauces.
Yield: 2 light meals · Estimated time: 5–10 minutes preparation and 8–12 minutes frying, excluding cooking the rice. Timing varies with the pan, heat and kimchi.
All four pictures are AI-generated illustrations, not photographs from a kitchen test. Follow the written amounts; the pictures do not show precise ingredient quantities.
Ingredients for two light meals
- 400g cooked short-grain rice, about 14oz by weight — not 400g dry rice
- 150g fermented napa cabbage kimchi, about 5.3oz, lifted from its liquid
- 20g thinly sliced scallion (green onion), about 0.7oz
- 1 tablespoon neutral cooking oil (15ml)
- 1 teaspoon toasted sesame oil (5ml)
- Optional: up to 1 tablespoon kimchi liquid (15ml)
- Optional: up to 1 teaspoon soy sauce (5ml), only if needed
Use a 26–28cm (roughly 10–11in) skillet and a spatula. With a smaller pan, cook in two batches. There is no gochujang, sugar or extra salt in this starting version: first find out how salty and spicy your kimchi already is.
Cut the kimchi into pieces around 1cm (⅜in) wide. Use properly stored, fermented kimchi; frying is not a way to rescue spoiled food. For a vegan meal, check the kimchi label for fish sauce, shrimp or other animal ingredients. Also check allergen labels: kimchi can contain seafood, soy sauce may contain soy and wheat, and sesame oil contains sesame.

Method: cook the kimchi before adding rice
1. Prepare the rice and soften the kimchi
Gently separate large rice clumps. For freshly cooked rice, spread it briefly to release excess steam, without leaving it out for a long time. If using refrigerated rice, check the storage guidance below first.
Put the neutral oil and scallion in the pan over medium heat. Stir for about 30–60 seconds, then add the chopped kimchi before the scallion darkens. Cook for roughly 3–4 minutes, stirring, until the cabbage stems soften slightly and there is no large puddle in the pan. Look at the food rather than relying on the clock alone.

2. Fold in the rice without crushing it
Lower the heat to medium-low and add the rice. Divide clumps with the edge of the spatula, then fold the kimchi through the grains. Avoid pressing everything into a paste. Work around the pan until very little plain white rice remains.

3. Adjust moisture, then season
If the mixture is wet, skip the kimchi liquid. Spread the rice in a thin layer over medium heat and turn it as excess moisture evaporates. If it is too dry to combine, add kimchi liquid a teaspoon at a time, using no more than the listed tablespoon. It adds salt as well as moisture.
Once all the rice is steaming hot throughout, taste a small spoonful. Only if it needs more salt, mix in soy sauce in half-teaspoon additions, up to one teaspoon total. Reduce the heat if the bottom starts to burn. Turn off the heat, stir in the sesame oil and serve immediately.
4. Serve it as a simple bowl meal
Divide between two bowls. Meat and egg are optional additions in other versions, not missing steps here. For a separate side dish, try our four-egg gyeran mari recipe. Expect the heat, saltiness and colour to vary with the kimchi you buy.

Troubleshooting your first pan
- Wet, sticky rice: stop adding liquid, spread it out, and split an overcrowded pan into smaller batches. More oil does not remove excess water.
- Stubborn rice clumps: lower the heat and separate them with the spatula edge, then fold. Do not repeatedly mash them against the pan.
- Kimchi burns quickly: lift the pan off the heat briefly and reduce the burner. Avoid scraping burnt bits through the whole batch.
- Too salty: omit further soy sauce. A little safely stored plain rice can dilute the seasoning, but increases the final quantity. Next time, use less kimchi liquid.
- Too sour or spicy: choose a milder kimchi or adjust its amount next time, instead of continually adding sauces to cover the flavour.
Check how leftover rice was stored
The UK Food Standards Agency advises cooling cooked rice quickly, ideally within one hour, refrigerating it and using it within 24 hours. Reheat until steaming hot throughout, and only once. Cool in small portions rather than leaving a large pot or rice cooker to cool slowly.
Frying refrigerated rice counts as reheating. Make only what you will eat now; do not plan another reheating of this batch. Avoid rice that has already been reheated or takeaway rice with an unknown handling history. Frying cannot reliably make rice safe after prolonged room-temperature storage.
References and editorial note
Background on the basic dish: Korean Bapsang’s kimchi fried rice. This is a separate beginner’s version using 400g cooked rice without meat, egg or gochujang. Rice storage guidance: FSA — Home food fact checker, Rice. Sources checked September 30, 2026.
Edited by microdog. No affiliate shopping links are included. This article does not claim that the recipe has been kitchen-tested.
답글 남기기